Share a survey link
Create a session's survey link, copy it or show its QR code, choose how long it stays open, and replace or revoke it.
Your words may differ. Each workspace can choose its own words: a class might be a cohort, program or group, a learner a participant, trainee or new hire, a session a module or lesson. These guides use the default words. The steps are the same whatever your workspace calls them. Change your workspace's words
Each session gets its own survey link. You make it in a couple of clicks, then paste it in the chat, put its QR code on screen, or have Skovrum email it to learners. Everyone in the session uses the same link, and nobody needs an account.
Open the survey panel
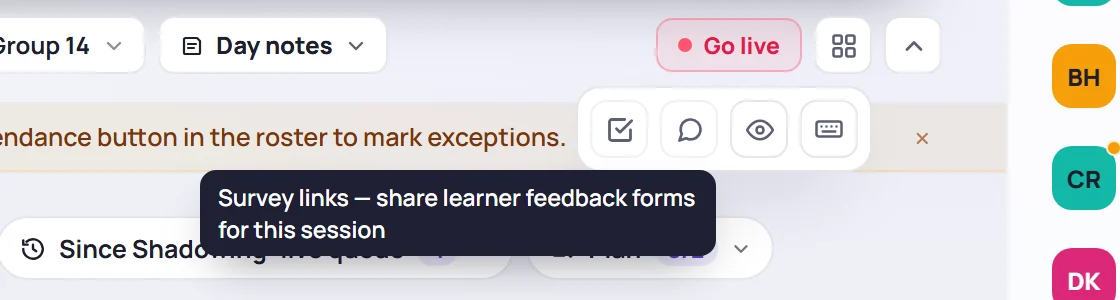
Open the session (see The session screen). Click Session tools, the four squares in the toolbar, and choose Survey links, the speech bubble.
The Learner surveys panel opens. At the top, Email to learners shows whether this class emails its survey automatically. Below that are the session's links, if any, and Add a custom survey: every survey template that fits the class's type.
Create and copy a link
- Choose how long the link stays open in Open for: 1 day, 3 days, 1 week, 2 weeks or 30 days after the session date. The line under it shows the closing date, for example Closes Oct 12.
- Click Preview on a survey to check its questions, if you like.
- Click Create & copy next to the survey you want.
The link is copied, ready to paste. It now sits under Custom surveys with everything you need to share it:
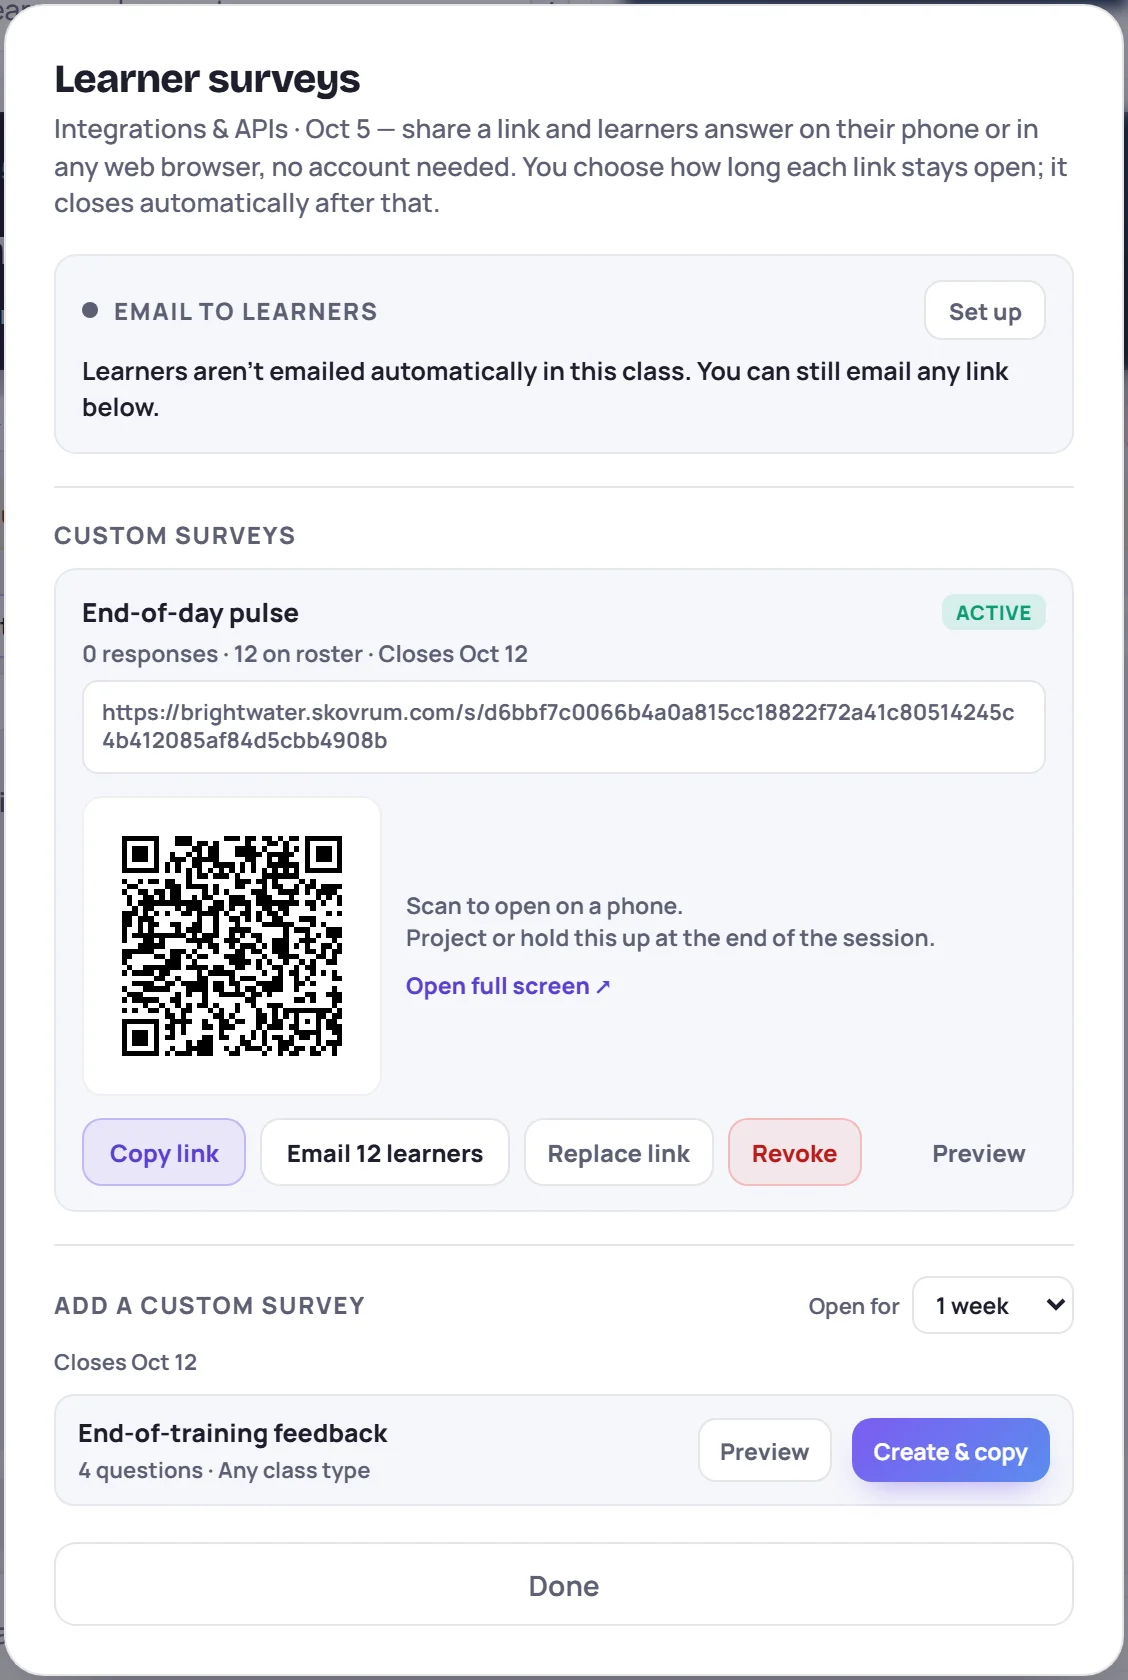
| Button | What it does |
|---|---|
| Copy link | Copies the link again |
| Email N learners | Emails the link to the learners on the roster who haven't had it yet. See Email surveys automatically. |
| Replace link | Gives the survey a new address and stops the old one |
| Revoke | Stops the link |
| Preview | Shows the link's questions |
You can create links from several surveys in the same session. Each survey can have one live link per session.
Show the QR code
A live link shows its QR code in the panel. Learners point their phone camera at it to open the survey. It's the quickest way to collect feedback in the room: put it on screen in the last few minutes and give people time to answer.
For a projector or a screen share, click Open full screen. A new window shows the survey's name, a large QR code and the link.
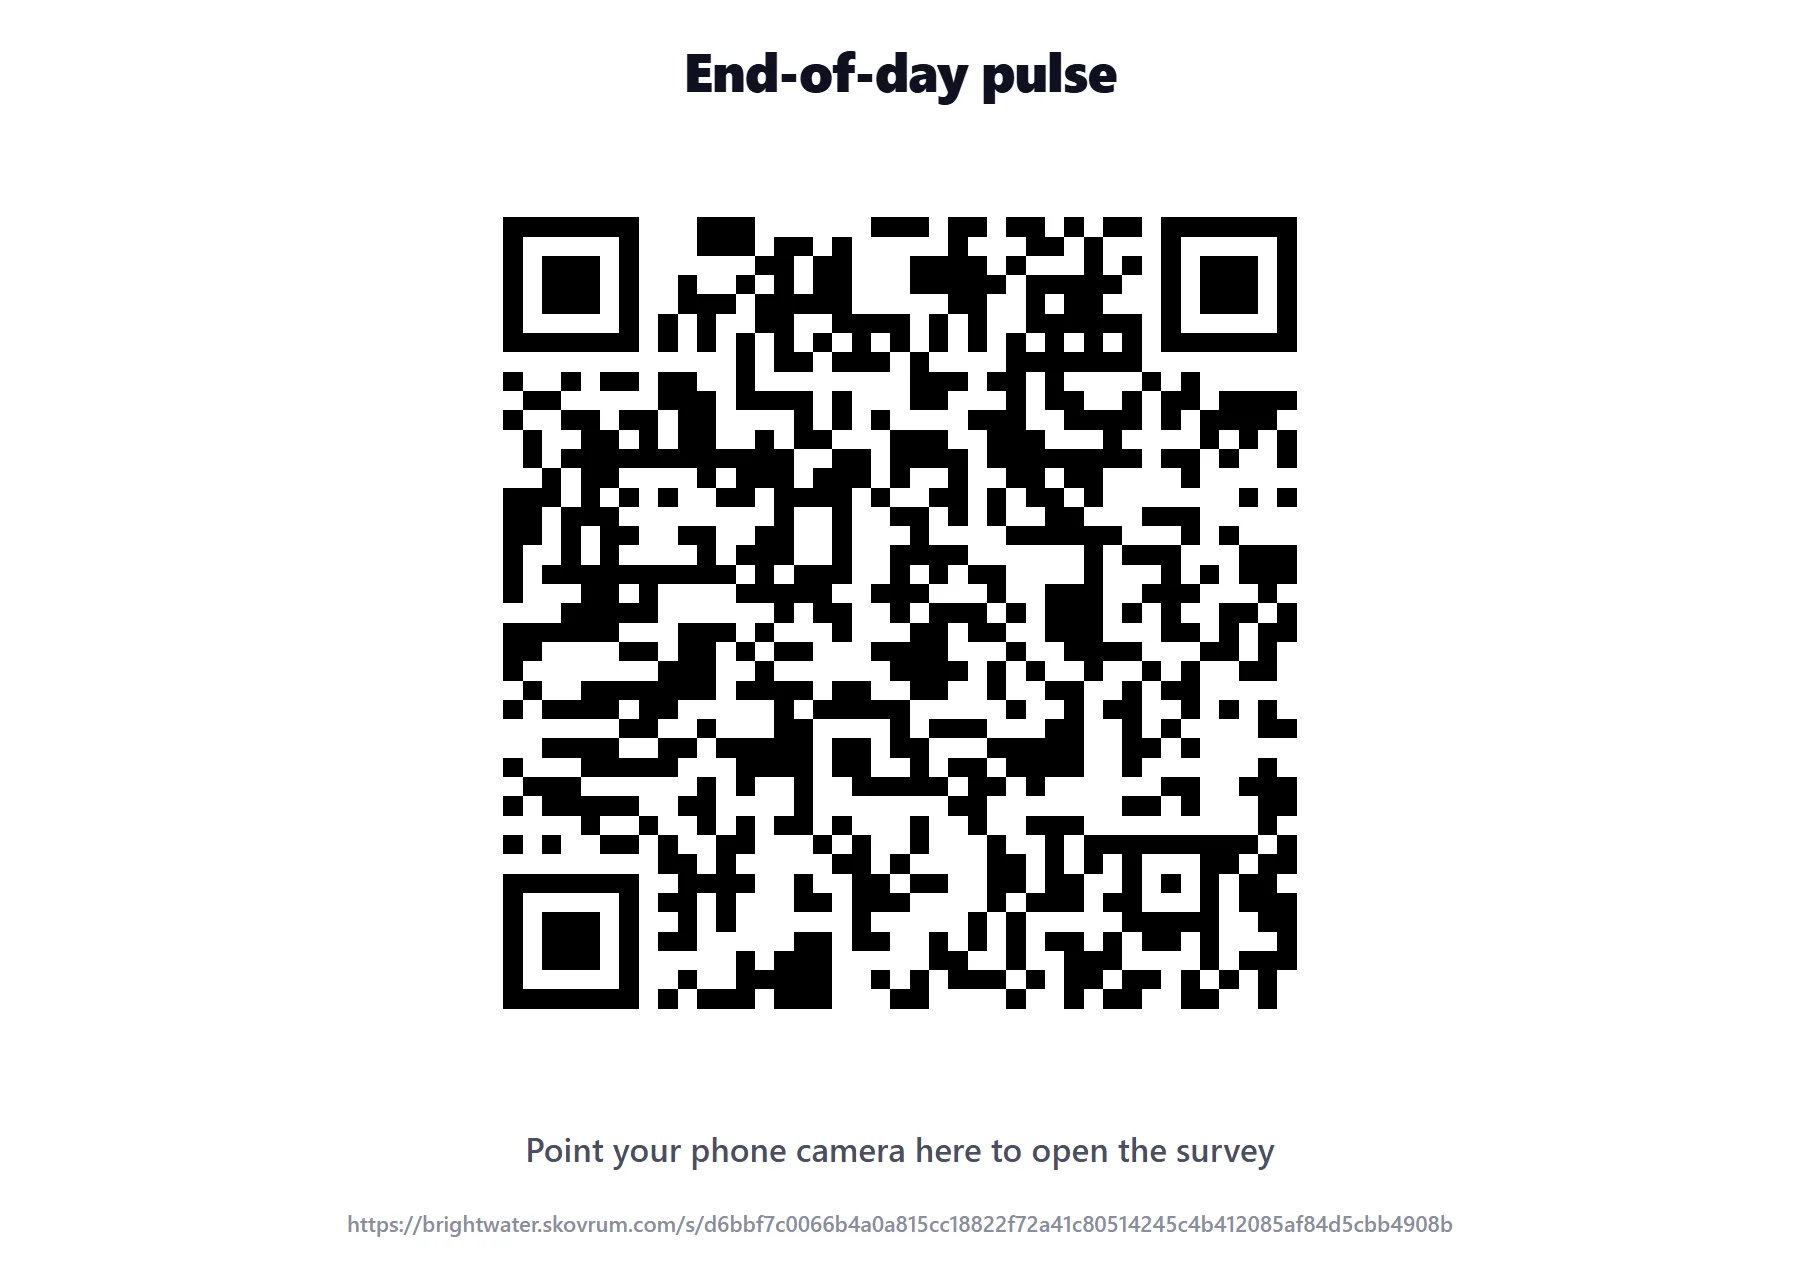
If nothing opens, your browser blocked the pop-up. Allow pop-ups for Skovrum and try again.
When a link can be created
A feedback link opens the day before its session and closes after the time you chose. You can only create or copy it while it's open:
- Too early, the button is replaced with the date it opens, such as Opens Oct 8.
- Too late, you see Window closed.
Learners who open a closed link see This survey has closed. Answers already in stay in Skovrum.
Replace or revoke a link
Replace link gives the survey a new address. Use it when the link went somewhere it shouldn't, for example a public channel. Skovrum asks first:

The new link is copied for you. The old one stops working at once, and learners who open it see Survey not found. If the link was already emailed, the confirmation says how many learners had it: they can't use the copy in their email any more.
Revoke stops the link without a replacement. It asks first, then the link stops working straight away. Responses already in are kept. The survey moves back to Add a custom survey, so you can create a fresh link later (with a new address).
If the class emails its survey automatically, revoking that survey's link for a session also stops the email for that session.
Change how long a link stays open
A link keeps the lifetime it was created with. To change it, revoke the link, choose a new Open for, and click Create & copy again. This gives the link a new address, so share it again.
Common questions
Do edits to the template change my link? No. A link keeps the questions the template had when the link was created.
Can I see who answered? Only learners who chose to add their name. See Read responses.
Why is there no Survey links button? Either your role is read-only, or the notes menu is showing the class-wide notes. Choose the session's own notes in that menu and the button comes back.